


Storefront glass installation looks simple from the sidewalk. A crew shows up, sets the frames, drops in the glass, and the new front is done by the end of the week. Behind that short visit, though, sits a long chain of steps. Field measurements, shop drawings, material orders, fabrication, framing, glazing, sealing, and inspection all have to line up. If one link breaks, the whole job slips. This guide walks through each step, so property owners and managers know what to expect from the first site visit to the final sign-off.
Building owners, store managers, and general contractors can use it to plan budgets, schedules, and tenant communication.
Why Storefront Glass Installation Takes Careful Planning
A storefront is more than a big window. It is a framed system of aluminum, glass, gaskets, sealant, anchors, and often doors and hardware. Each part must fit the opening, meet local codes, and keep out wind and water for decades.
On top of that, most storefronts face a busy street or a public walkway. So the crew must work safely around people while keeping the business open whenever possible. For these reasons, good storefront glass installation starts long before the first frame goes up.
Step 1: Field Measurements
Everything starts with accurate field measurements. A project manager or field measurer visits the site and records the size of every opening. They check width and height at several points, because older openings are rarely square. They also note the condition of the sill, the head, and the side jambs.
In addition, the measurer looks for problems that could affect the work. For example, they check for uneven slabs, rotted wood, loose masonry, or hidden steel. These details shape the shop drawings and help avoid surprises on install day.
What Gets Measured on Site
- Rough opening width and height at the top, middle, and bottom
- Diagonal measurements to check for square
- Sill height and slope
- Door locations, swing, and hardware needs
- Nearby utilities, signs, and lights that may be in the way
- Access for lifts, trucks, and glass racks
Step 2: Shop Drawings and Approvals
Next, the glazing contractor turns those measurements into shop drawings. These drawings show the frame layout, glass sizes, door locations, anchors, and sealant joints. They also list the glass type, frame finish, and hardware.
After that, the owner, architect, or general contractor reviews the drawings. This step catches mistakes before anything is built. In many cities, the drawings also go to the building department as part of the permit. So plan a few weeks for review and any changes.
Step 3: Ordering and Fabrication
Once the drawings are approved, the contractor orders materials. Aluminum framing is cut and assembled in the shop. Meanwhile, the glass is ordered from a fabricator, who cuts it, tempers it, and adds any coatings.
Lead times vary a lot. Standard clear tempered glass may arrive in two to three weeks. On the other hand, insulated units, laminated glass, or custom colors can take six weeks or more. Our storefront systems page covers common framing options.
Step 4: Site Preparation for Storefront Glass Installation
Before install day, the site must be ready. The old storefront may need to come out first. Then the crew checks the opening, repairs any damage, and installs flashing or sill pans to manage water.
Safety matters at this stage too. The crew sets up barriers, signs, and covered walkways to protect the public. They also plan where to park the truck and how to move large panels safely. The OSHA website lists safety rules for this kind of work.
Step 5: Installing the Frames
Now the visible work begins. Installers set the sill first, then the vertical mullions and the head. They check every piece for level, plumb, and square. Next, they anchor the frame to the structure using the anchors shown on the drawings.
Getting the frame right is key. If the frame is out of square, the glass will not sit evenly, and the doors may not close well. So skilled installers take their time here, even when the schedule is tight.
Step 6: Setting the Glass
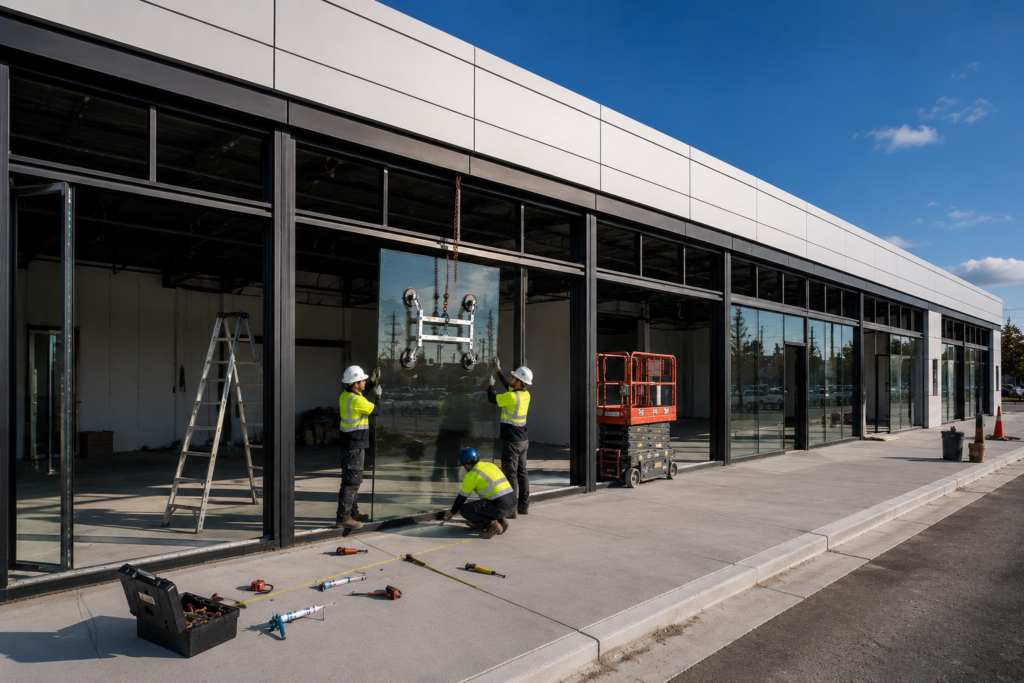
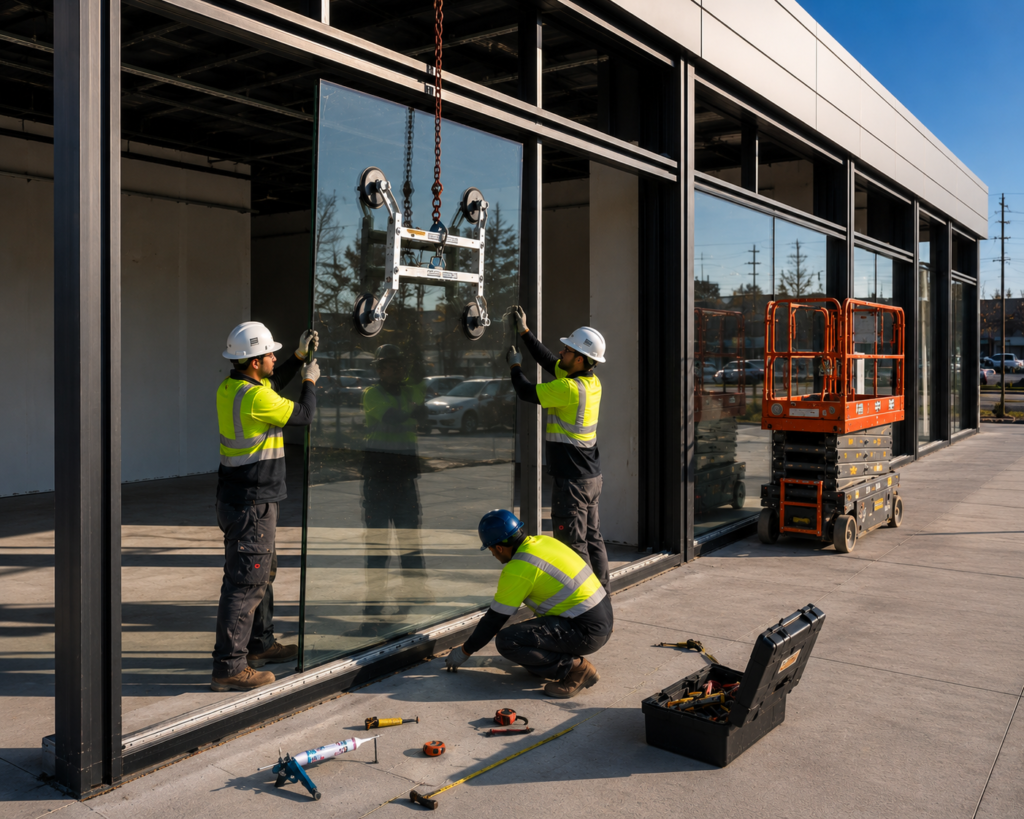
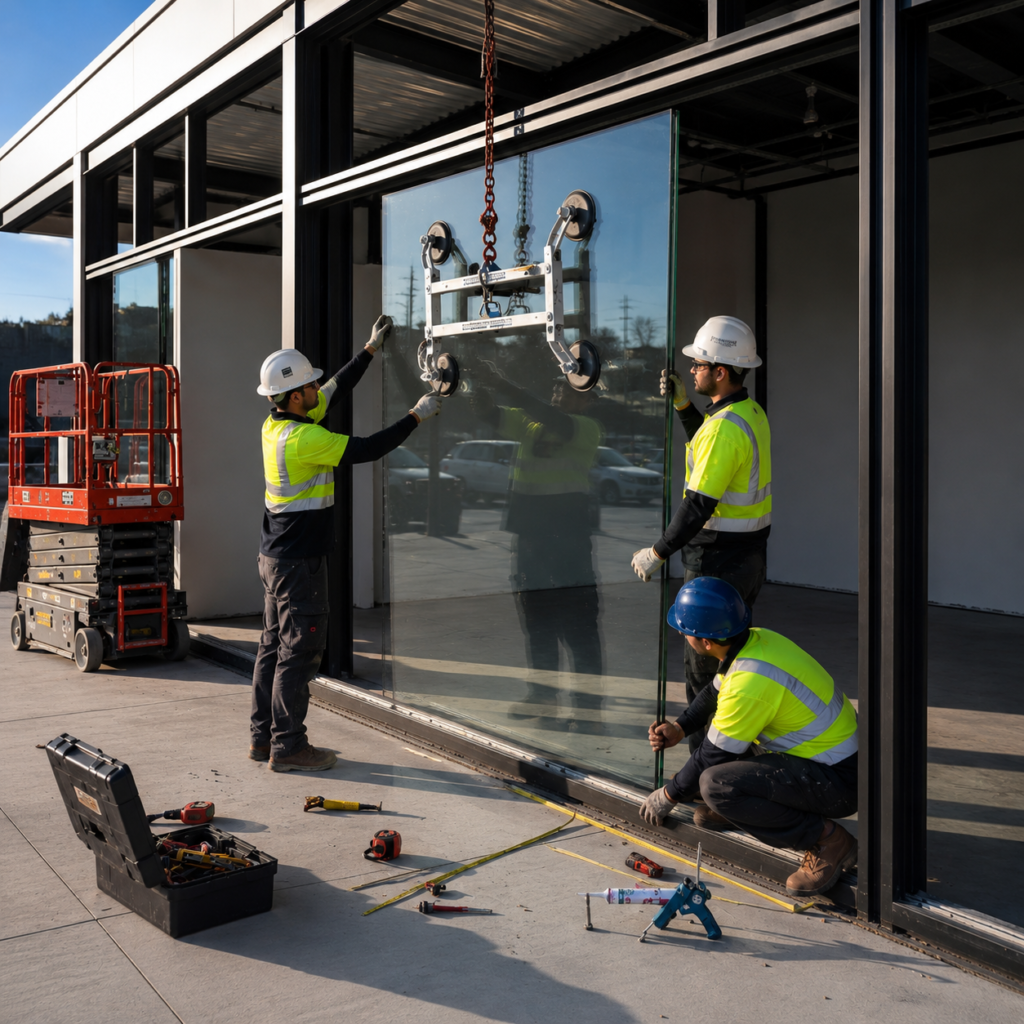
Then the glass goes in. Large panels are heavy, so crews often use vacuum lifters or small glazing robots. They set each panel on setting blocks, which hold the glass off the bottom of the frame. After that, they install gaskets or glazing stops to hold the glass in place.
Doors come next. Installers hang the door, set the closer and pivots, and adjust the hardware until the door swings smoothly and latches every time. Our storefront door installation page covers door options in more depth.
Step 7: Sealing and Weatherproofing
Sealing protects the building from wind and water. Installers apply sealant around the outside of the frame, where it meets the wall. They also seal joints between frame pieces. Good sealant work is neat, continuous, and tooled into the joint.
Weather affects this step. For example, many sealants need dry surfaces and mild temperatures to cure well. So crews may wait for better conditions rather than rush a joint that could leak later.

Step 8: Cleaning and Punch List
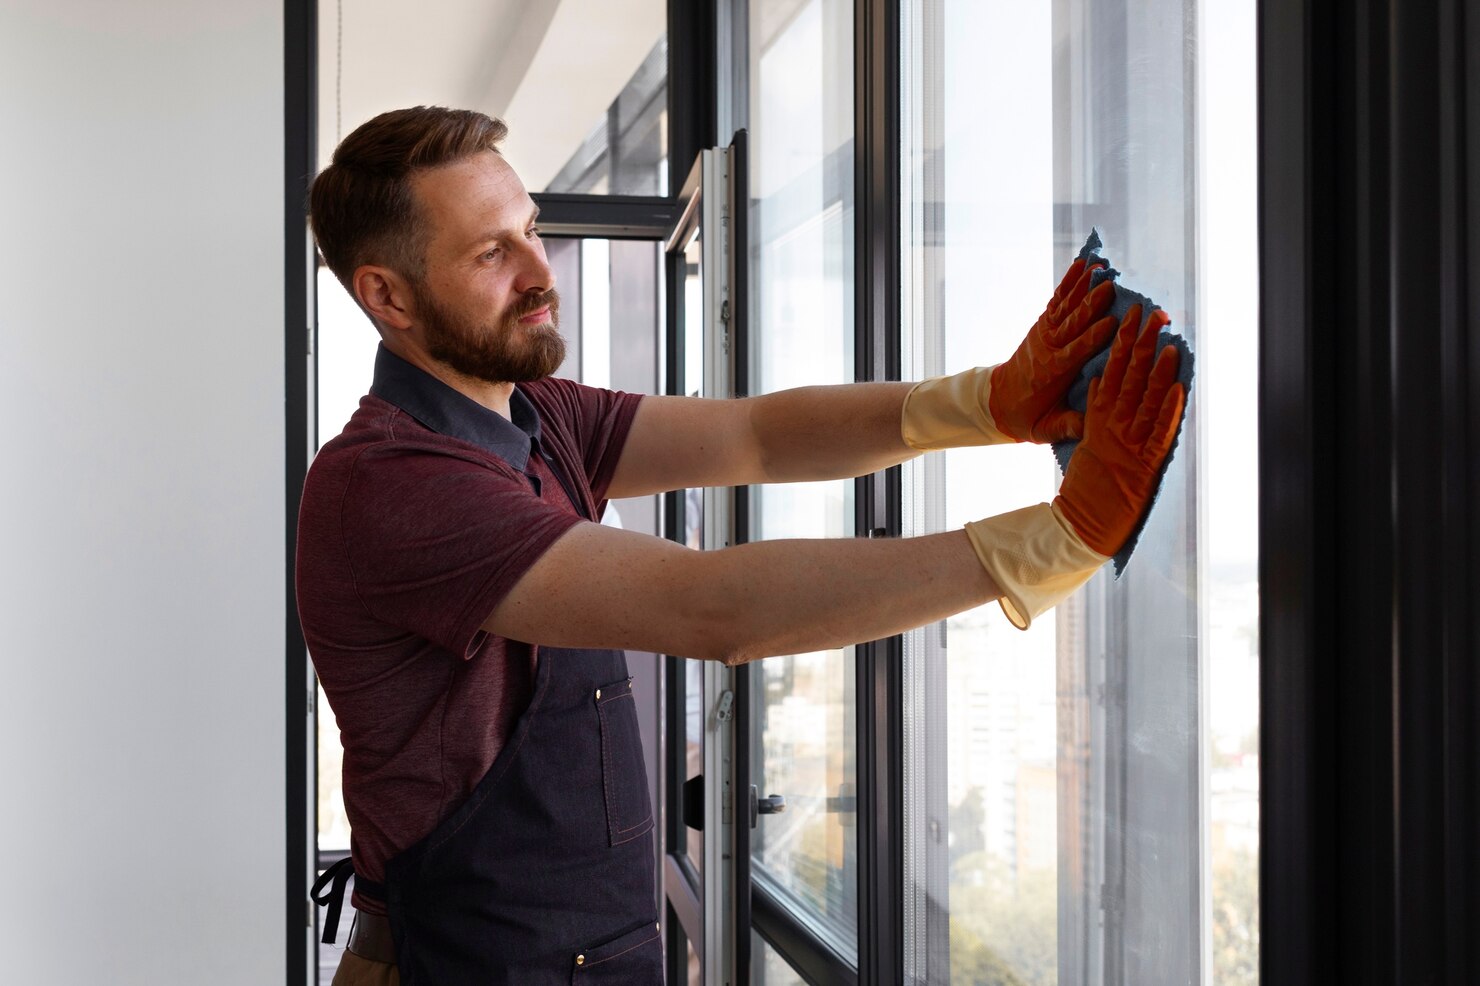
Next, the crew removes labels, cleans the glass, and wipes down the frames. Then the project manager walks the job with the owner or general contractor. Together, they make a punch list of small fixes, such as a door that needs adjusting or a scratch that needs touch-up paint.
Step 9: Final Inspection of the Storefront Glass Installation
Finally, the building inspector checks the work. Inspectors look at safety glass labels, door hardware, exit width, and accessibility. They may also check energy code items, such as glass performance labels. Once the inspection passes, the storefront is ready for full use.
Keep the paperwork. Save the shop drawings, glass labels, warranty letters, and inspection sign-off together. These records help with future repairs and insurance claims.
How Long Does Storefront Glass Installation Take?
Timelines depend on size and materials. In many cases, the full process takes four to ten weeks from the first measurement to final inspection. Most of that time goes to drawings, approvals, and fabrication. By contrast, the on-site work often takes only a few days for a typical retail front.
Common Delays and How to Avoid Them
- Slow approvals: Review shop drawings quickly and answer questions fast.
- Late material changes: Lock in glass and finish choices early.
- Bad openings: Fix framing or masonry problems before install day.
- Weather: Plan sealing work around rain and cold.
- Permit issues: Confirm permit needs at the start.
Choosing a Contractor for Storefront Glass Installation
Look for a glazing contractor with commercial experience, proper licensing, and solid insurance. Ask for photos of similar projects and references from local owners. Also ask who will measure, who will draw, and who will install. When one team owns every step, fewer details fall through the cracks.
Industry groups such as the National Glass Association share training and best practices that many good contractors follow.
FAQ on Storefront Glass Installation
Can my store stay open during storefront glass installation?
Often, yes. Crews can work in sections, use temporary panels, and keep one door open for customers.
Do I need a permit?
Most cities require a permit for a new storefront. Your contractor can confirm the rules where you are.
What happens if the glass breaks during delivery?
The fabricator usually replaces it, but the schedule may slip. That is why good crews check every panel when it arrives.
Plan Your New Storefront
A clear plan turns a complex project into a smooth one. Visit our installation services page, or contact our team to schedule a field measurement.